 Industry News
1. Turn off the power and wait for cooling to ensure safety
Before cleaning the electric steamer, be sure to unplug the power plug and wait for the electric steamer to cool completely. This step is very critical, both for your safety and to protect the appliance itself. The internal temperature of the electric steamer is high when it is working. The surface and interior of the steamer that has just been used may be in a high temperature state. Immediate cleaning may easily burn yourself, and contact with water at high temperature may cause damage to the electrical components. It is usually recommended to wait for at least 15-20 minutes to confirm that the device is completely cooled before disassembling and cleaning. This not only avoids accidental burns, but also prevents deformation or damage to materials due to sudden temperature changes. The first step in safe cleaning is to leave enough cooling time for yourself and the device.
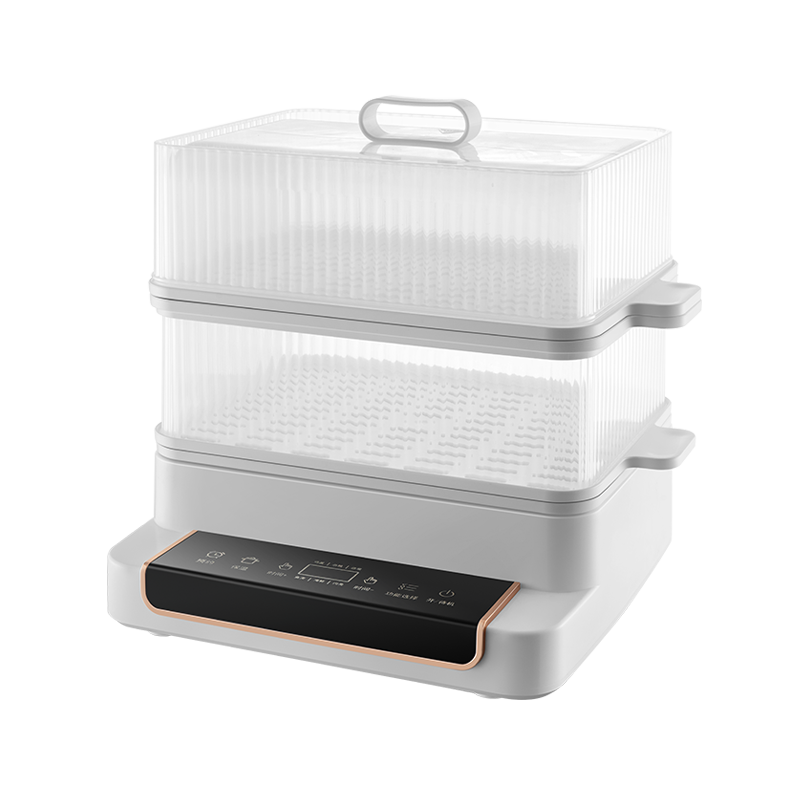
2. Disassemble each component for easy and thorough cleaning
Electric steamers usually consist of multiple detachable parts, such as steamer grids, lids, water boxes or water tanks, water trays, etc. Disassembling these parts is a key step in cleaning. Before disassembly, please check the product manual to avoid excessive force that may cause damage to parts. Separating each component allows you to clean every corner more conveniently and avoid the accumulation of food residue and scale. In particular, the gaps and holes in the steamer grid are the easiest places for bacteria and dirt to hide. When disassembling, be careful to sort and put away large and small parts to avoid loss. When cleaning, handle them separately to ensure that each part can be thoroughly cleaned. For some fixed parts, such as the heating base, do not disassemble them, just wipe the surface.
3. Clean removable parts and keep them clean without residue
Use warm water and neutral detergent, with a soft sponge or cloth, to clean removable parts such as the steamer grid, lid and water tray. Avoid using hard brushes or steel balls to avoid scratching the non-stick coating or plastic surface. Choose mild and non-irritating detergents to help protect the material of the parts and reduce the residual chemical components that affect health. During the cleaning process, you can use a toothbrush or soft brush to clean the holes and edge gaps of the steamer grid to ensure that there is no food residue. Rinse thoroughly to avoid detergent residue. Finally, wipe dry with a clean towel or let it dry naturally. If stored in a damp place, bacteria may breed easily. It is recommended to dry thoroughly before assembling and storing.
4. Clean and descale the water tank to prevent mineral accumulation
The water tank of the electric steamer is a place where scale is easily accumulated, especially for users in hard water areas. Mineral deposition not only affects heating efficiency, but may also lead to reduced steam volume and even damage the electric heating elements. It is very important to clean the water tank and descale regularly. You can use white vinegar and water in a 1:1 ratio to prepare a solution and pour it into the water tank to soak for 15-20 minutes. The acetic acid component in white vinegar can effectively dissolve scale and mineral deposits. After soaking, use a soft brush to gently scrub the inner wall of the water tank, especially around the heating element, to ensure that the scale is completely peeled off. Then rinse with clean water several times to remove the vinegar smell and residue to avoid affecting the taste of subsequent steamed food. It is recommended to perform descaling maintenance every 1-2 months according to the frequency of use to keep the water tank clean and ensure the normal and efficient operation of the steamer.
5. Clean the main unit base to avoid water damage to the circuit
The main unit base of the electric steamer contains electric heating elements and circuits, and must not be directly rinsed or soaked with water. When cleaning, wipe the outer surface with a damp cloth to prevent moisture from entering the appliance and causing a short circuit or damage. It is best to wring the damp cloth to a semi-dry state, and gently wipe the surface of the main unit and the operating panel to remove oil and dust. If there are stubborn stains, you can wipe it with a small amount of neutral detergent solution, but be sure to wipe it again with a clean damp cloth to avoid residue. After wiping, wipe it thoroughly with a dry cloth to ensure that there are no water marks. Never poke the plug-in port or switch with a sharp object to avoid damaging the circuit. Proper maintenance of the main unit base is the key to extending the life of the electric steamer.
6. Assemble it back to its original position and prepare for the next use
After all parts are cleaned and dried, assemble them back to their original positions in sequence according to the instructions. Make sure that each part is installed in place, the lid is closed tightly, and the water tank is placed firmly. Correct assembly not only ensures that the steam does not leak, but also avoids damage to parts and malfunctions during use. After assembly, it is recommended to steam it empty (without ingredients) to test the operating status of the equipment and remove any odors that may remain during cleaning. Develop the habit of assembling in time after cleaning to avoid parts being lost or misplaced. Keeping your equipment tidy can also help you better manage your kitchen space and make it easier to use.
COPYRIGHT © Cixi Rongying Electric Appliance Co., Ltd. ALL RIGHTS RESERVED.
 English
 Español


